
In this diy, I, Ruobing will be guiding you through the tutorial of this amazing braided headband! These headbands are stretchy, comfortable yet attractive at the same time. An amazing 20 minute job will have you this headband, fitting for hair up and hair down. Sorry, this is my first tutorial, so it might not be the greatest.... But it's pretty simple, so the tutorial difficulty is only 2!

What you'll need
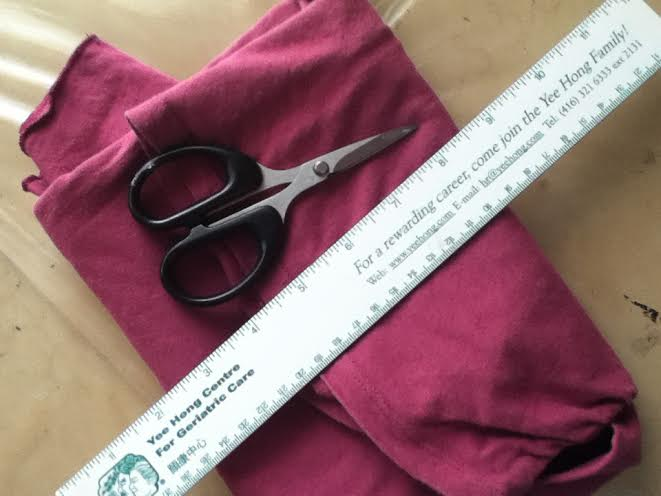
-An old/used shirt, any colour would do
-Scissors
-A ruler
-A marker (not shown in picture above)
-A needle and thread (not shown in picture above)
How to make it
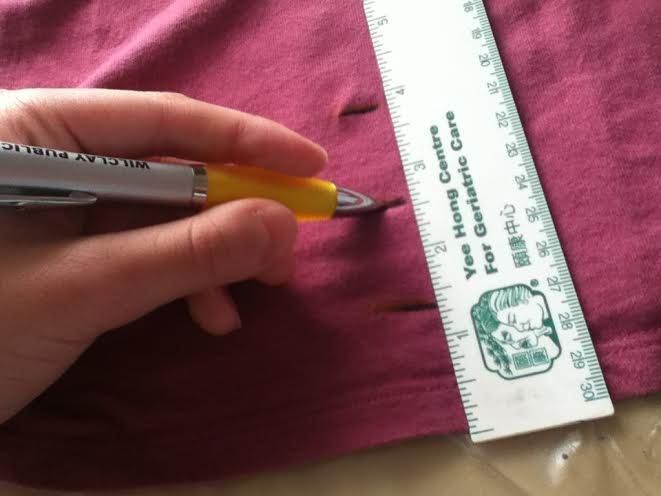
Step 1: Cut strips out of the T-shirt. We will need 6 strips, about 1 and a half inches thick, each the length of one side of the T-shirt. Use the marker to outline the strips, shown above.

Step 2: Now, we can start cutting out the strips of cloth.
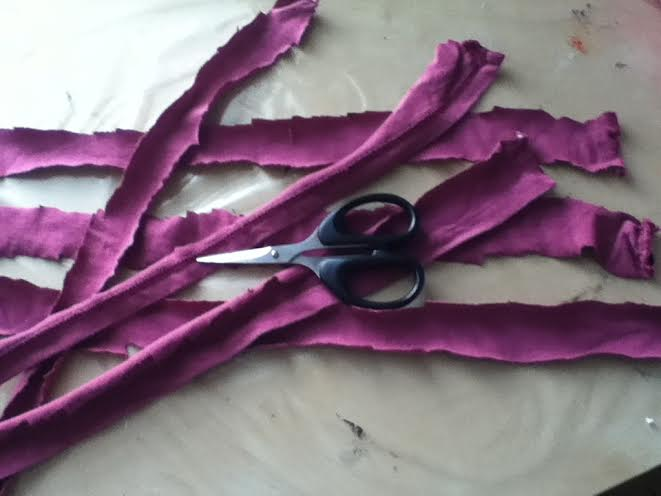
After finishing cutting, you should have 6 strips of the same length and width to work with.
After finishing cutting, you should have 6 strips of the same length and width to work with.
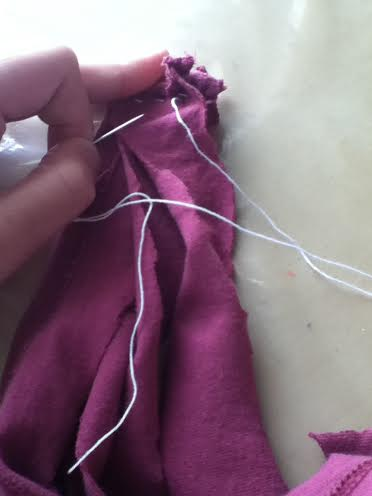
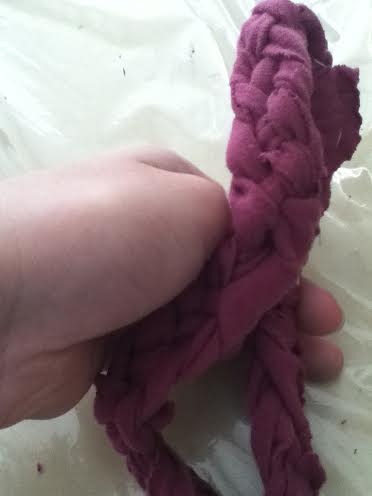
Step 3: This is slightly tricky, which is braiding together all 6 strands of cloth. It will take some time to finish this. You can learn how to do the six strand braid here.
Step 4:
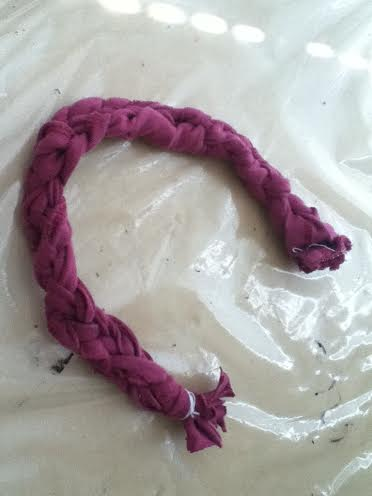
After you finish braiding all the strips, sew together the ending, like you did with the beginning. Now this is the final step. Take your last piece of cloth, and use it to sew together the two ends of the braid you had just made.
Now you are done! This is what the final product should look like, and it works wonders. I hope you have enjoyed the first tutorial I have done on Colourful Decorations, and I hope you like the craft that I have chosen to present. Thanks to all,

No comments:
Post a Comment
Thanks so much for commenting. It makes us really happy, and we'll be sure to reply back or leave a comment on your own site. Have a great day!